Complete Guide to Caravan Awnings
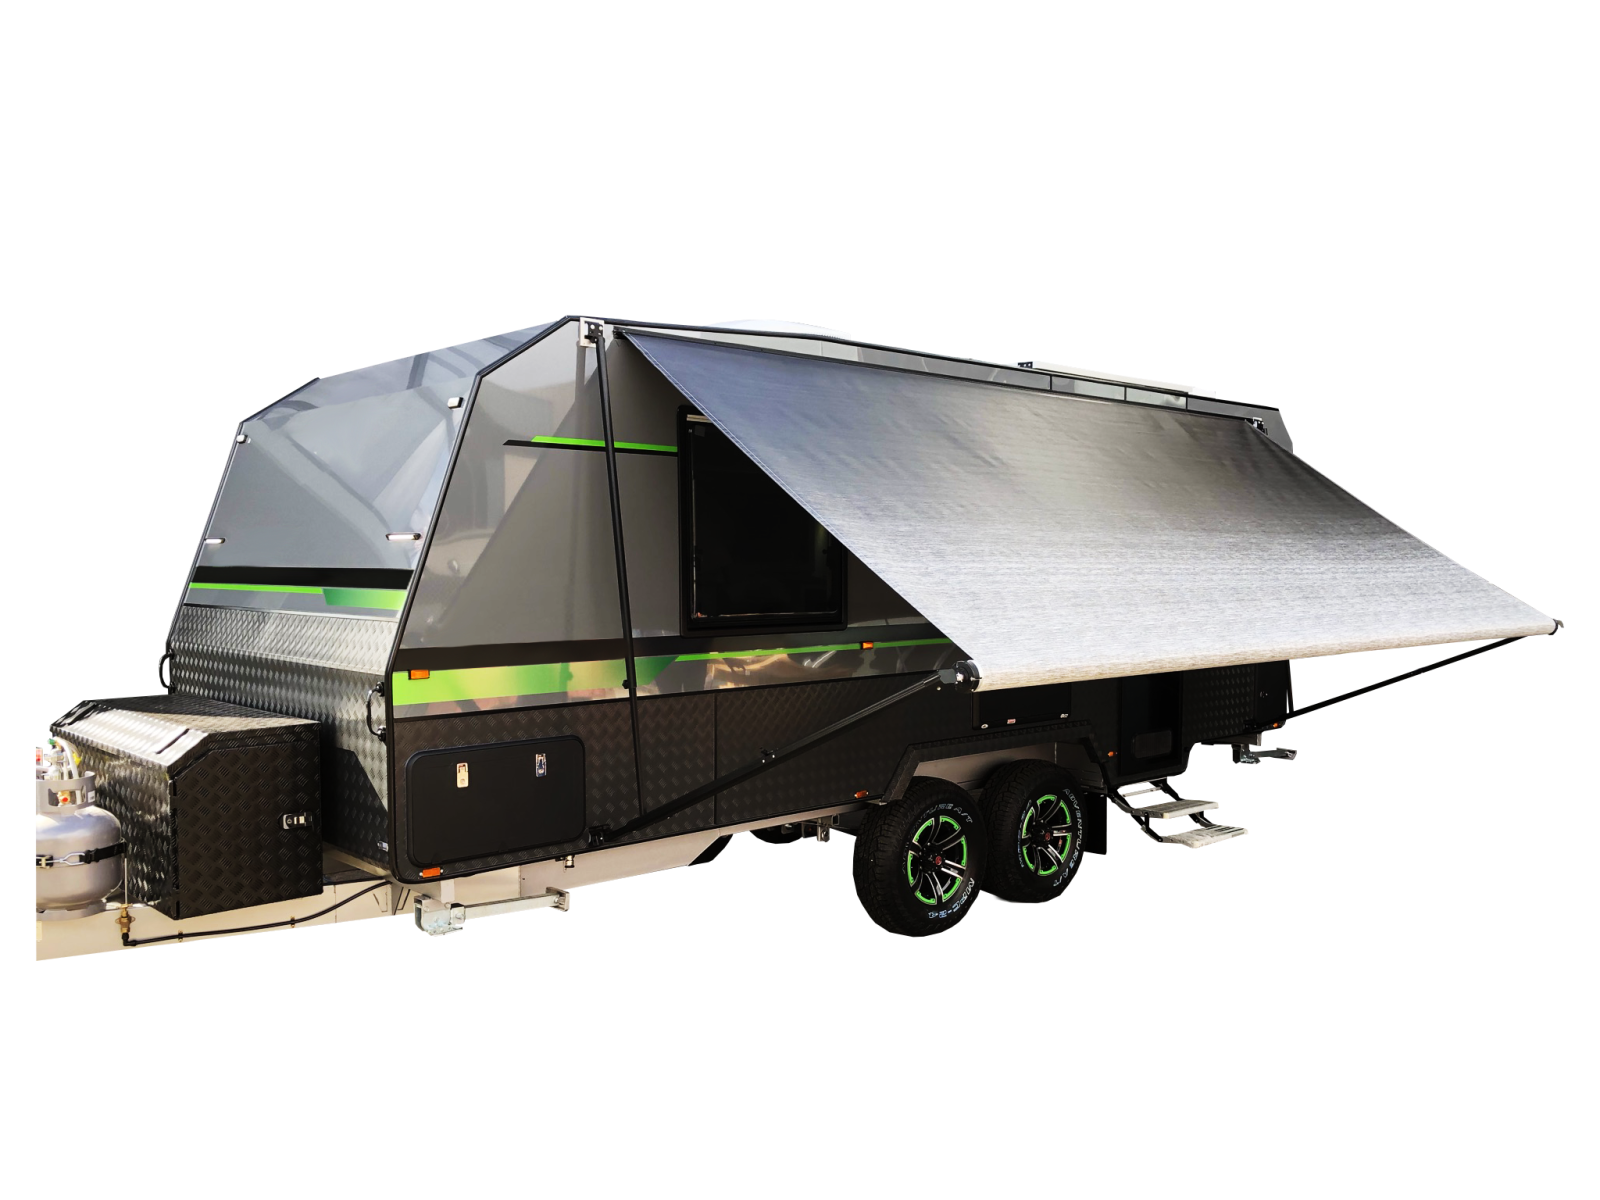
A great caravan awning turns a parking spot into an outdoor room. Shade in summer, dry entry in the rain, and a calmer space to cook, relax and sleep. This guide explains how awnings work, the sizes and parts that matter, when to deploy or stow, and simple care tips — with the practical, reliable NCE manual caravan awning front and centre. If you’ve searched “caravan and awning” for ideas, you’re in the right place.
Why a caravan awning matters
Comfort & shade
Extend your living area outside the door. Cooking is cooler, kids get shade, and morning dew stays off chairs and shoes. In heat, a shaded sidewall also lowers inside temps, helping fridges and air-cons work less.
Protection for your van
Rain is diverted away from the entry, limiting water tracking in. Grit, bird droppings and UV on windows and seals are reduced on the awning side, which helps preserve finishes over long trips.
Easy routine, safer stops
With a manual system there’s no waiting on motors. You can partially deploy for a lunch stop, or drop quickly if wind appears. When parked overnight, an awning adds privacy and a tidier, defined site footprint.
Low weight, low fuss
Manual mechanisms remain popular because they’re light, simple to maintain, and intuitive for anyone in the crew to operate.
About NCE manual awnings
NCE focuses on manual roll-out awnings designed for Australian touring — robust arms, reliable locks and straightforward operation. No complicated electronics, just practical, repeatable setup every day on the road.
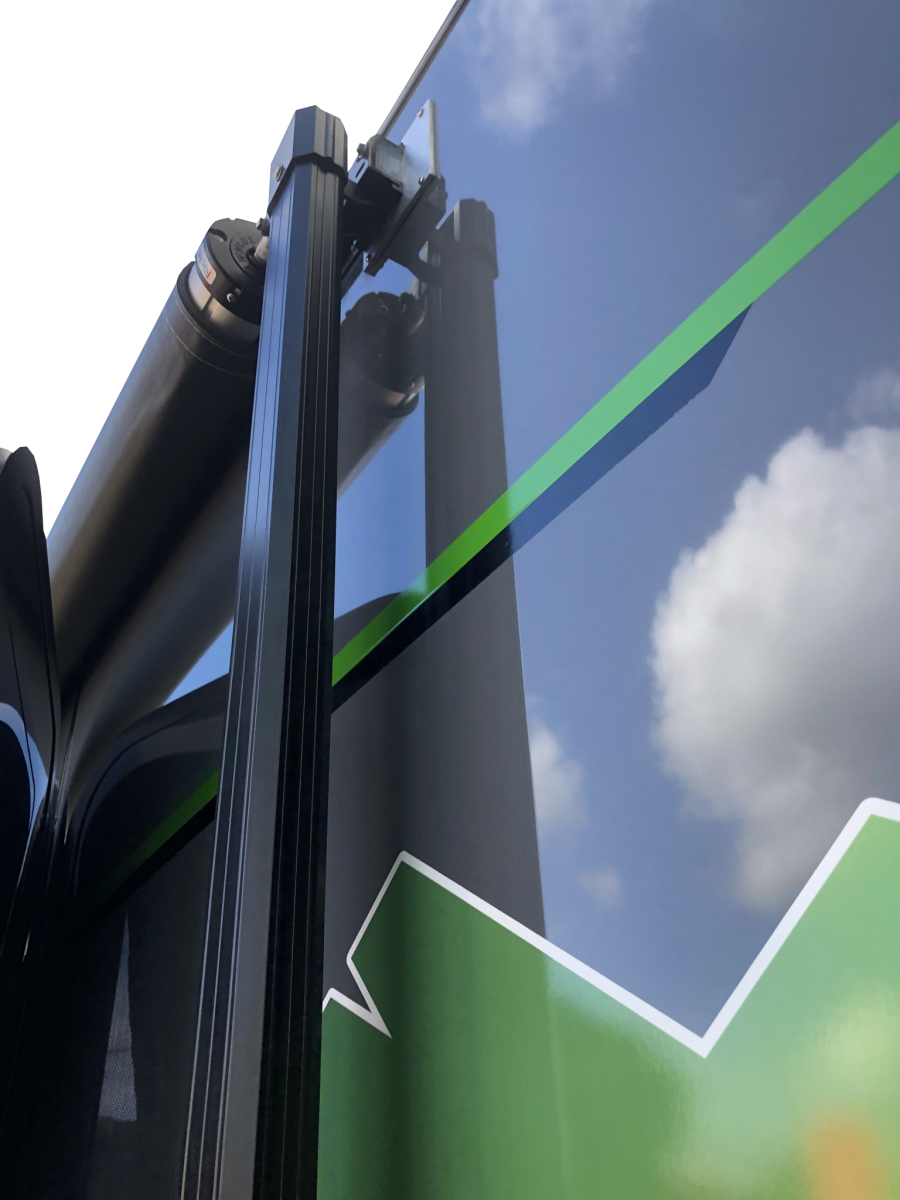
- Fast manual deployment — roll out to the shade you want, then lock the arms.
- Pitch control — set one side lower in rain so water sheds away from your door.
- Travel security — positive latches designed to sit tight on corrugations when stowed correctly.
Sizing & fit: length, projection, and clearance
Correct sizing ensures coverage without interfering with doors, windows or lights.
| Item | What to measure | Why it matters |
|---|---|---|
| Awning length | Measure along the wall between suitable mounting points and allow space from edges/obstacles. | Sets how wide your shade is and where arms can sit without fouling doors or lights. |
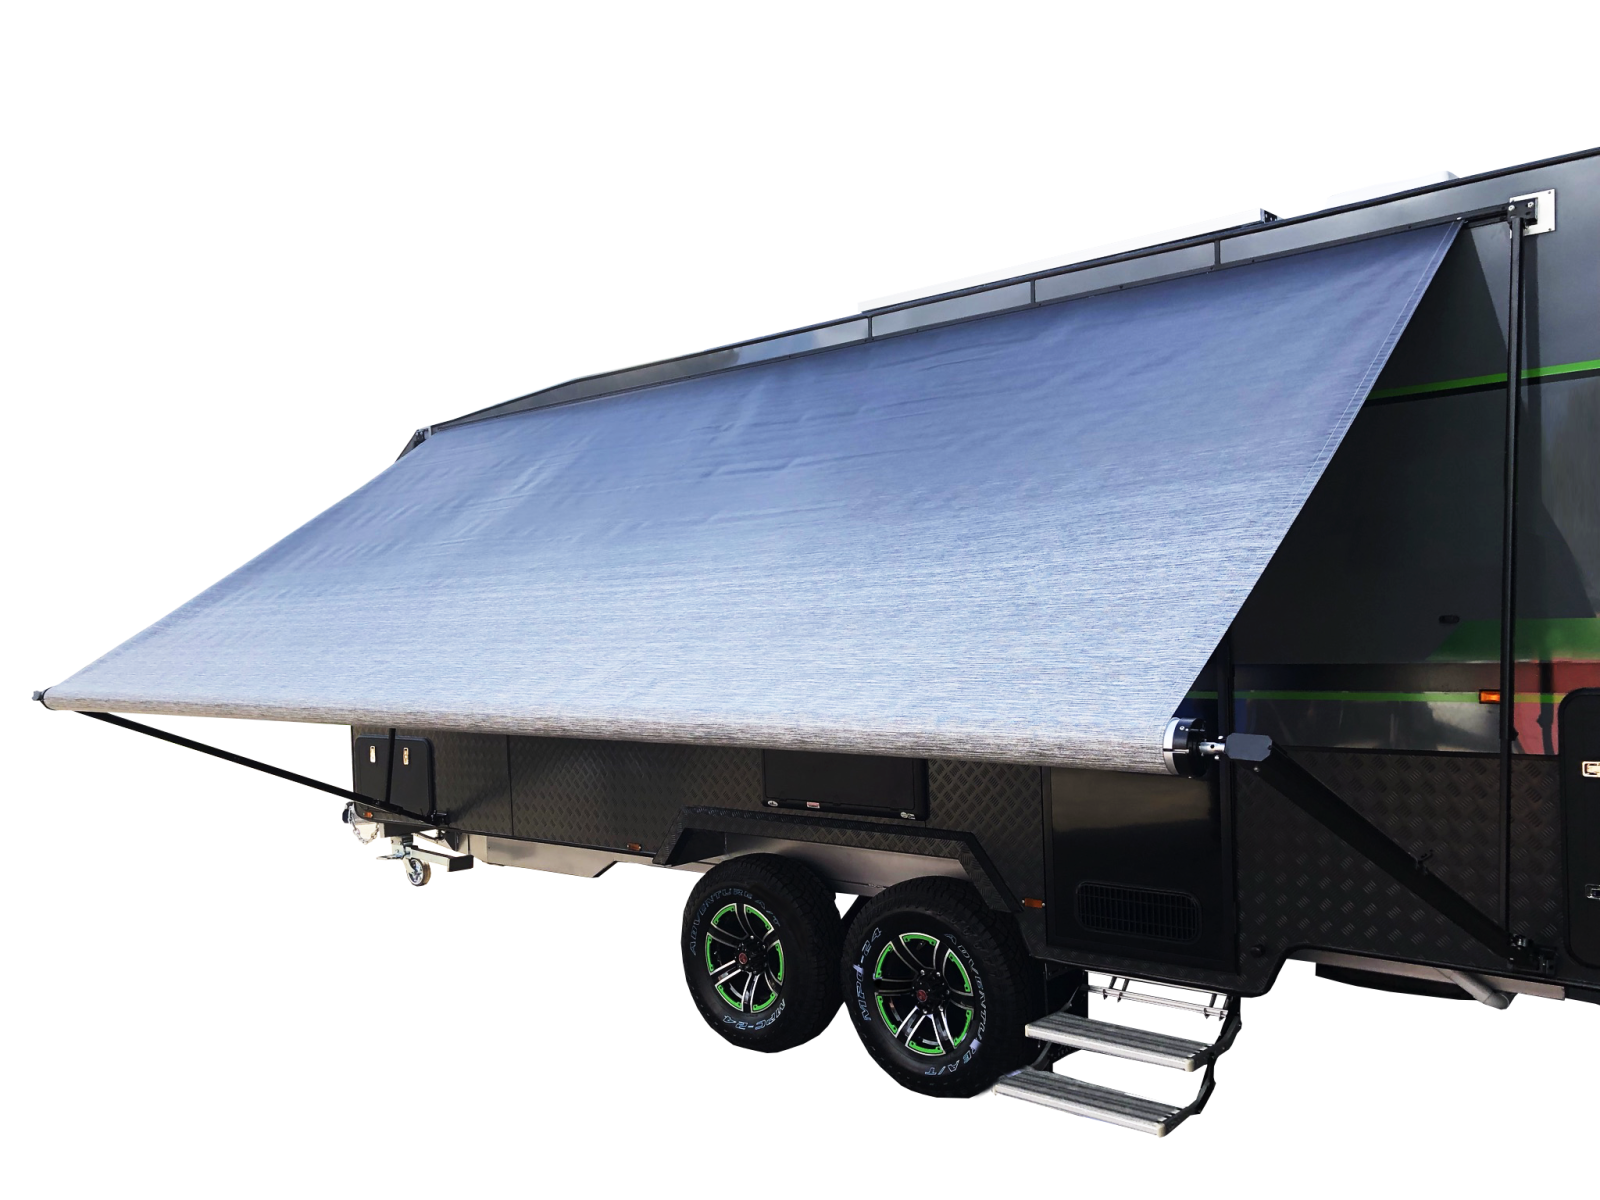
| Projection | Nominal distance from wall to front rail when deployed (commonly ~2–2.5 m class). | Determines usable outdoor floor area and table/chair fit under cover. |
| Door & window clearance | Open doors/windows fully and confirm arm paths won’t clash. | Prevents rub marks and ensures smooth daily use. |
| Height & pitch | Measure top rail height from ground at level site. Confirm you can create fall (slope) for drainage. | Good pitch sheds water, reduces pooling and flapping. |
| Mounting structure | Confirm solid fixing positions as per van construction (consult your builder if unsure). | Strong substrate stops fasteners loosening on corrugations. |
Set-up, stow & wind tips
Daily deployment
Unlock, roll out to the desired extension, set arm height and apply light tension. Angle one corner lower if rain threatens. Keep walkways clear of guy points and the entry side uncluttered.
Reading the weather
Wind is the main risk. If gusts arrive or flapping increases, reduce projection or stow — manual systems make this quick. Overnight, many travellers reduce to half extension or fully stow before bed if conditions are uncertain.
Privacy & security
Position your table and chairs so you’re not visible straight through the doorway. At night, drop the pitch a touch and keep items inside the awning footprint; it feels calmer and discourages wandering through your site.
Care & cleaning
- Rinse fabric and rails with fresh water after dusty or salty runs; allow to dry before stowing.
- Inspect fasteners and arm pivots seasonally; tighten to specification and lubricate sparingly where recommended.
- Clean marks with mild soap solution and a soft brush; avoid harsh solvents or pressure washers on seams.
- Always stow dry when possible. If you must pack away wet, deploy and dry at the next stop.
Troubleshooting quick list
- Fabric pooling in rain — increase pitch on one side; reduce projection in heavy downpour.
- Flutter or noise — add a little tension and reduce span; check arms are locked.
- Roll-out stiff — inspect for debris in rails; clean and check for any bent sections before re-lubricating as per instructions.
- Arms not parallel — re-set heights evenly on level ground; verify mounting points are square.
Shop NCE Manual Caravan Awnings
FAQs
What size caravan awning do I need?
Measure the available wall length and pick an awning that fits between obstacles with room for arm brackets. Projection (how far it comes out) sets the usable outdoor floor area. If you’re between sizes, choose the one that leaves comfortable clearance for your door and lights.
Are manual caravan awnings hard to use?
No. A manual NCE awning is designed for quick, repeatable setup: unlock, roll, set height and pitch. Many owners prefer manual for its simplicity and low maintenance.
Can one person deploy a manual awning?
Yes. Two people is ideal in wind, but one person can deploy and stow a manual awning with a consistent routine. If gusts pick up, reduce projection or stow early.
When should I stow the awning due to wind?
At the first signs of gusting or continuous flap that you cannot calm with tension and pitch, reduce extension or stow. Overnight, stow if the forecast is uncertain.
How do I clean and care for the fabric?
Rinse with fresh water and let it dry before stowing. For marks, use mild soap and a soft brush. Avoid aggressive cleaners and high-pressure washing on seams.
Does a caravan awning add much weight?
Manual systems are relatively light for the space they create. Always check specifications for your van’s allowance and choose quality mounting to handle travel loads.
Is installation DIY or should I book a workshop?
Experienced owners can install on suitable substrates, but many travellers prefer a professional fit to ensure bracket alignment, sealing and correct fastener torque.